Our Blueprint for How Perfect Chilli Oil is Made (And Why Most At-Home Attempts Fail)
If you've ever tried to make chili oil at home and ended up with a sad, burnt, or flavourless sludge of oil, you know the struggle. This isn't just another post in a sea of mediocre online recipes, it's the complete blueprint for making a perfect, crispy, and aromatic chili oil.
We'll cover how this delicious condiment is made, the non-negotiable ingredients for the best recipe, and the critical two-stage process. Follow these chili oil recipe instructions to guarantee a world-class result every time.
Key Takeaways On The Blueprint for Perfection
-
Step 1 Source the Right Ingredients. Use a neutral, high-smoke-point oil like canola and proper Sichuan chili for the best colour and aroma. These are essential for a crispy result.
-
Step 2 Infuse at Low Heat. Gently heat whole seasonings in the oil between 110-115°C to slowly extract their deep, foundational flavour without bitterness.
-
Step 3 Sizzle at High Heat. Pour the now-infused, warmer oil over your chili to 'bloom' them, unlocking vibrant colour and aroma.
-
Prevention Control Moisture for Safety. Only use thoroughly dried ingredients to prevent the risk of botulism, a common failure point in homemade condiments.
Step 1: Source the Right Ingredients for This Recipe
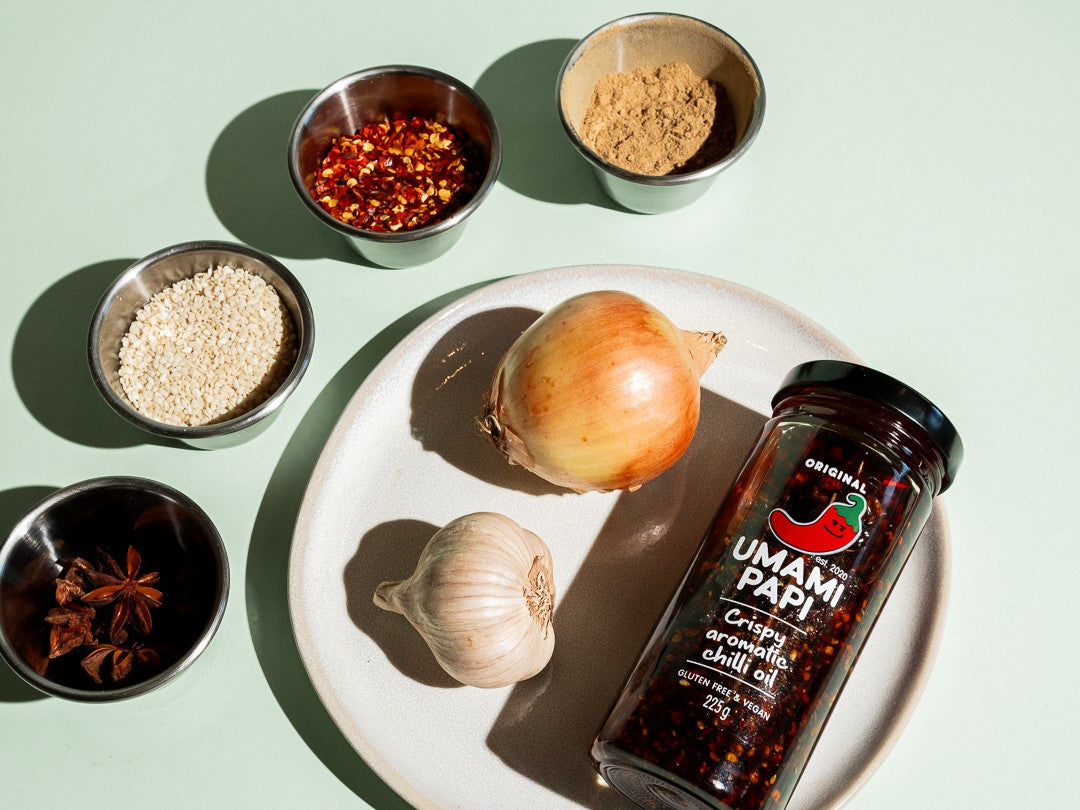
Before you even think about turning on the stove, know that your success is decided by the quality of your components. Skipping this stage is mistake number one. For a world-class result, these ingredients are non-negotiable.
|
The Component |
What You Need & Why It Matters |
|
The Chili |
Use proper Sichuan or Chinese pepper flakes from an Asian grocer. Supermarket varieties are mostly seeds and will make your final product taste of generic heat. The right kind of dried chili delivers a vibrant crimson colour and deep aroma. Some people use a coarse ground chili powder, but whole flakes give better texture. Stock up on the perfect crunch from our Chilli Oil Collection. |
|
Aromatic Spices |
Use whole spices for this condiment, like star anise, cassia bark, and Sichuan pepper. Ground versions will burn instantly, creating a gritty, bitter product that can't be fixed. This step is all about building a complex flavour. |
|
Crispy Elements |
Use fresh shallots and garlic, sliced paper-thin. This allows them to brown properly. Never use pre-minced jarred garlic. Its water content prevents browning and creates a serious botulism risk. We need crispy, not soggy. |
|
The Oil |
Choose a neutral-flavoured oil with a high smoke point (over 200°C), like canola or grapeseed oil. We keep it local and crispy by relying on the role of Australian canola oil. This neutral oil is a blank canvas. You can't just use cheap olive oil, you need the best oil to use for chili oil. Extra virgin olive oil will burn and taste harsh at the temperatures required. |
Step 2: The Low & Slow Infusion Stage
The traditional method relies on a two-stage heating process. The method hasn't changed much throughout the long history of chilli oil. This first stage is a gentle, low-heat infusion to build your foundational flavour. Don't rush this part.
The Action: Pour your oil into a deep pan or saucepan with your whole aromatics and your thinly sliced shallots and garlic. Gently heat the oil to between 110-115°C.
Why this matters: This specific oil temperature is sufficient to dehydrate the fresh ingredients and slowly extract their flavour compounds, but cool enough to prevent them from burning. Getting this right isn't just a suggestion, it's the difference between kicking goals and kicking rocks. The process is complete when the garlic and shallots are a light golden-brown. If they go dark brown, the oil will be bitter.
Step 3: Sizzle Time, The High-Heat Stage
This is the final, aggressive step that creates the knockout punch of colour and aroma. Once your aromatics are infused and strained out, return the now-flavoured oil to the pan.
The Action: Place your mix of chili flakes in a large, heat-proof bowl. Heat the infused oil to between 150-175°C. Carefully pour the heated oil over the contents of the bowl.
Insider Tip: You must hear an immediate, aggressive sizzle. If it's a weak fizzle, your liquid is too cold, and the taste will be raw. If the oil is excessively hot (200°C+), it'll instantly scorch the chilies, creating a dark, acrid, and unusable chili oil. You can't come back from that. We take that process and crank up the heat for our Extra Spicy Chilli Oil Jumbo.
A Lot of Work, Huh?
Look, we respect the hustle. This is the exact, obsessed-over process that took Papi from a lockdown kitchen to supermarket shelves. It’s a labour of love.
But let's be real, you might just be hungry.
Safety First: Commercial vs Homemade Production
Beyond a burnt batch, the single biggest risk with a homemade chili oil condiment is botulism. The bacteria Clostridium botulinum thrives in a specific environment: low-acid, low-oxygen, and moist. Putting fresh, high-moisture ingredients like garlic into a fat-based liquid creates this exact perfect storm. This isn't a myth. Authorities like Australia's own CSIRO warn against this practice. To prevent this, you must only use thoroughly dried ingredients. Commercial producers control for "water activity" to create a perfectly shelf-stable product, removing the guesswork and the risk.
Your Burning Questions About Our Condiment Recipe
What's the most important step for making amazing chili oil?
The two-stage heating process is the absolute game-changer. Trying to skip a step is like trying to convince your boss you're working on a Friday arvo, it just doesn't fly. First, you add aromatics at a low temperature (around 110-115°C) to extract deep flavours. Then, you heat the now-infused liquid to a higher temp (150-175°C) and pour it over the chili flakes to 'bloom' them. This dual-temp method is the secret to a great chili oil recipe.
What are the best peppers to use for chili oil?
For the best results, you should use proper Sichuan or Chinese red chilies, which you can find at most Asian grocers. Compared to standard supermarket flakes that are mostly seeds and provide only generic heat, these peppers are made from the flesh of the plant. This provides a much more vibrant red colour, a richer aroma, and a more complex profile that is fragrant rather than just aggressively hot. The specific type of hot chilli you use will define the end product.
Can I use fresh garlic in homemade chili oil?
No, it's strongly advised not to use fresh garlic when making a homemade chili oil for storage. Fresh garlic has a high water content, creating a low-oxygen, moist environment. According to food safety authorities like the CSIRO, this is the perfect breeding ground for the Clostridium botulinum bacteria, which can cause botulism. For safe homemade production, only thoroughly dried garlic should be used.
Why did my homemade chili oil turn out bitter?
Your chili oil likely turned out bitter for one of two reasons related to temperature control.
-
You burned the solid ingredients: If the liquid temperature was too high during the initial low-and-slow infusion stage (above 120°C), ingredients like garlic and shallots will turn dark brown and release bitter compounds into the oil.
-
You scorched the red chili: If the oil was excessively hot during the final sizzle (above 180°C), it'll instantly burn the flakes, resulting in a dark, acrid smell and an unusable, bitter product.
This blueprint is the result of years of obsession. We proudly use MSG to get that deep flavour, which requires understanding umami. It's the exact recipe system that took one of our favourite recipes from a home kitchen to the shelves of major supermarkets.
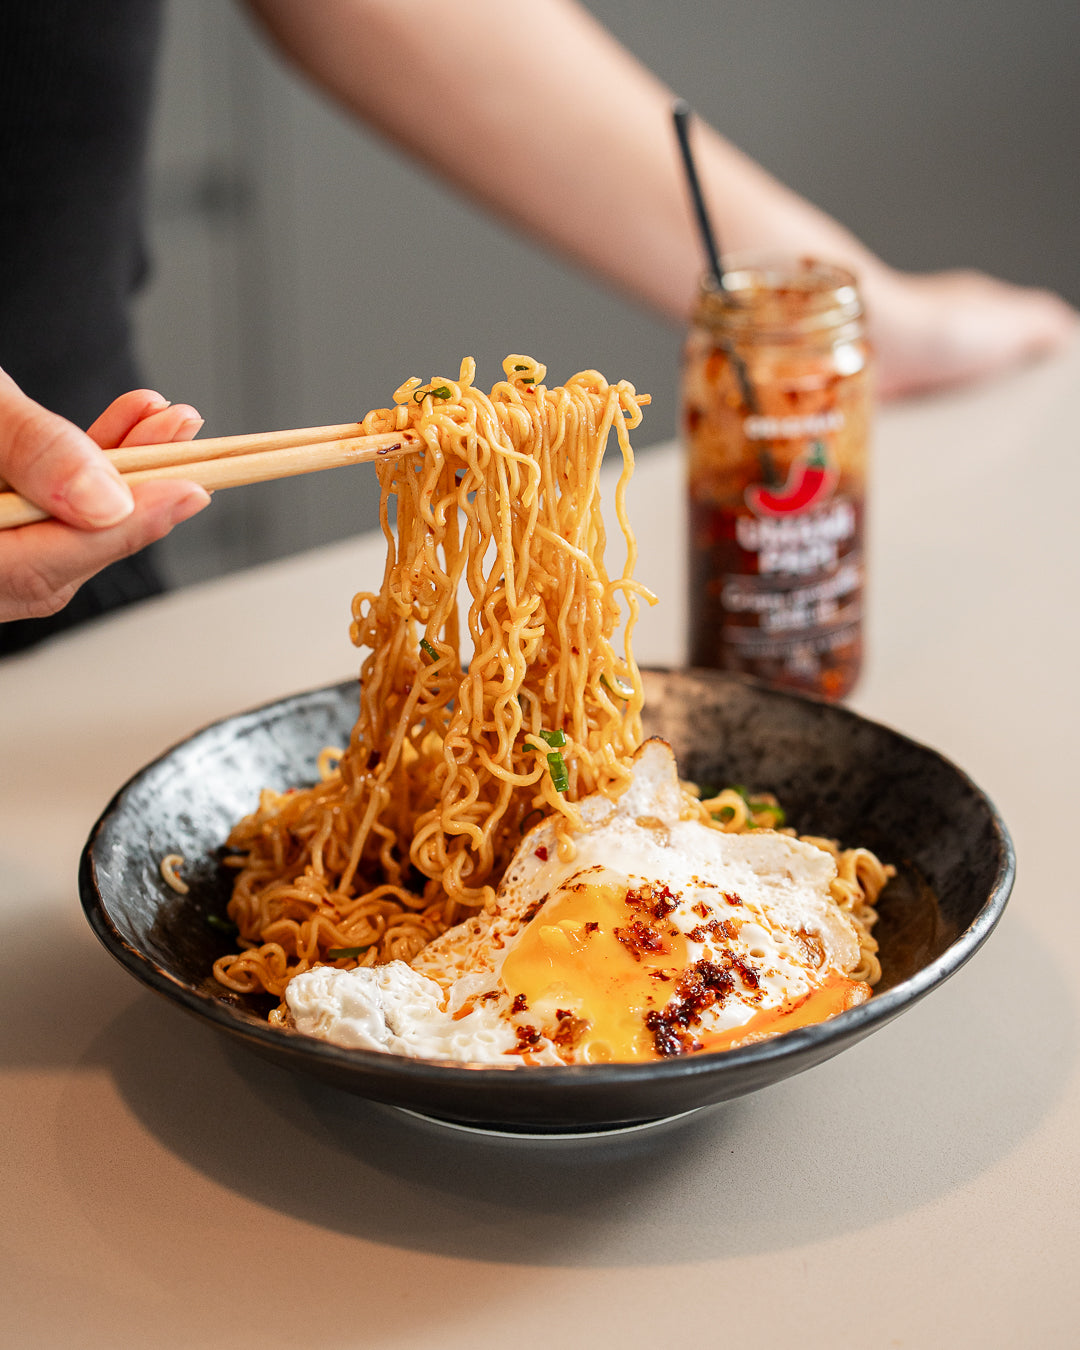
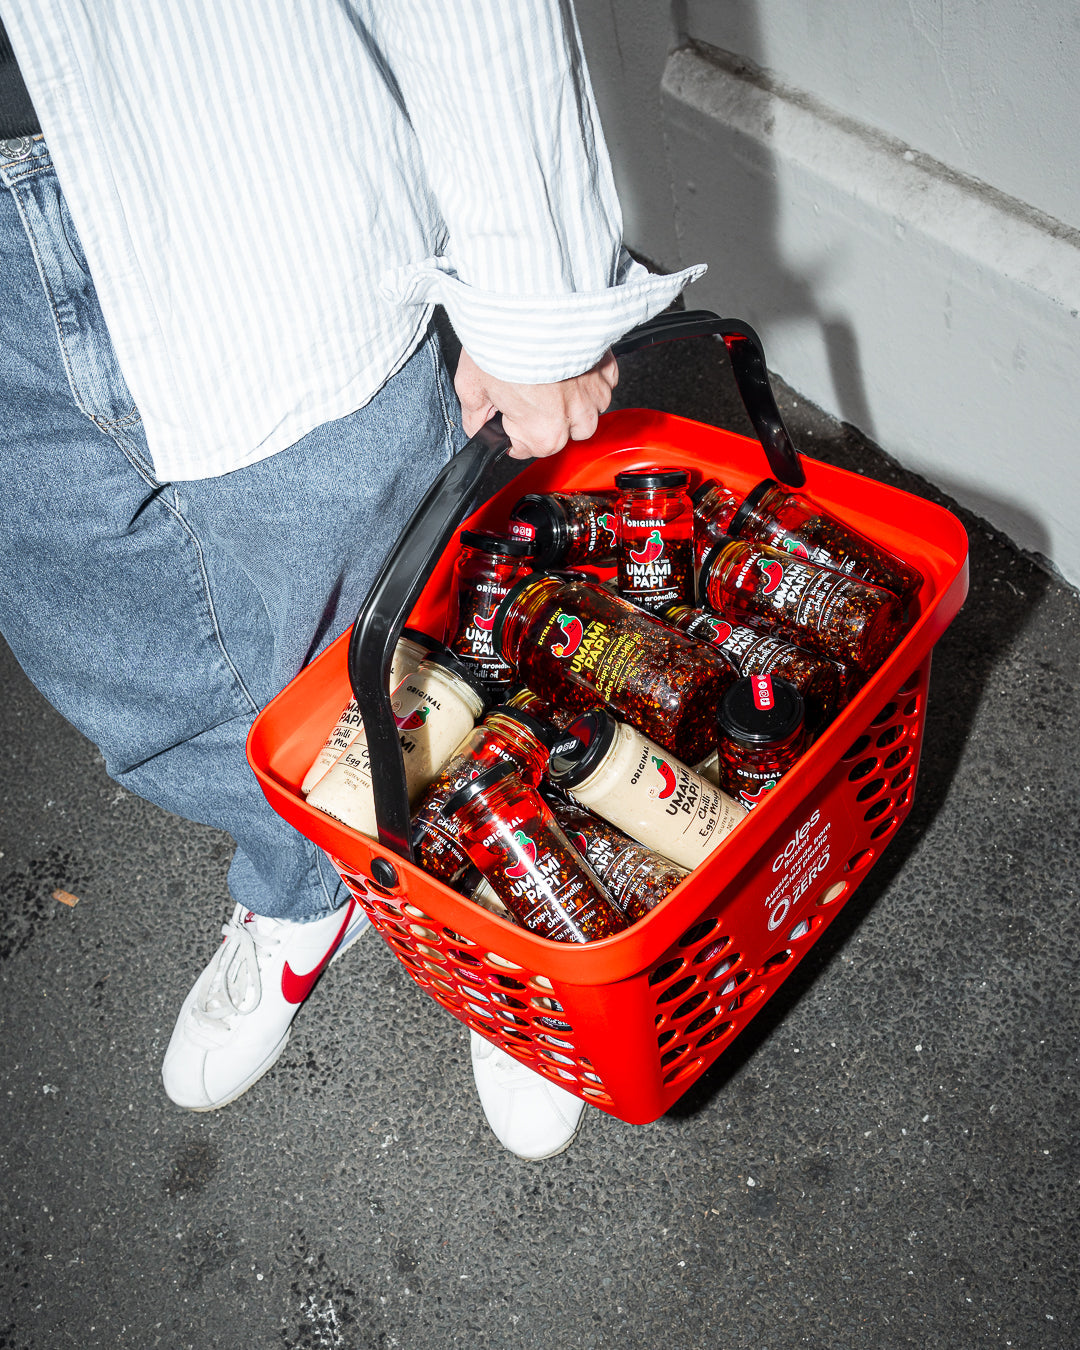
If you want to put in the work, this is the path. If you would rather just enjoy the final product, we'd be honoured if you tried our UmamiPapi Chilli Oil Original Large. It won't last a week in your house, so buy the Original Chilli Oil Jumbo. Taste the results of our obsession by picking up The Total Package Bundle.
Ready To Ruin Bland Food Forever?
Your kitchen's secret weapon is waiting. Stop settling for 'meh' and start making meals that demand attention.